How Long to Boil a Chicken Breast: A Comprehensive Guide
Introduction
how long to boil a chicken breast correctly is a skill that can elevate your meal preparation and ensure delicious, safe-to-eat results. Whether you’re a beginner or an experienced cook, knowing how long to boil chicken breasts can save time and prevent common cooking mishaps. Boiling is one of the easiest and healthiest ways to prepare chicken, making it a go-to method for many home cooks. Let’s dive into everything you need to know about boiling chicken breasts to perfection.
Table of Contents
What You Need to Know Before Boiling Chicken Breasts
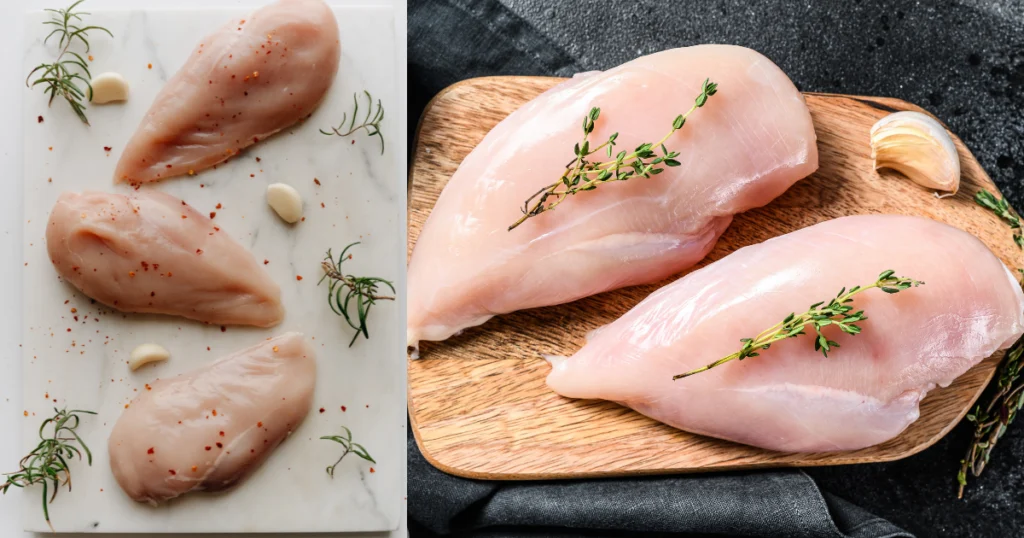
Choosing the right size and type of chicken breast
Not all chicken breasts are created equal. Look for pieces that are similar in size for even cooking. Organic or free-range chicken tends to have better flavor and texture compared to conventional options.
Bone-in vs. boneless: Does it affect boiling time?
Bone-in chicken breasts typically take longer to cook because the bone absorbs and distributes heat differently. If you’re short on time, boneless chicken breasts are a quicker option.
Fresh vs. frozen chicken breasts: Preparation tips
For consistent results, frozen chicken breasts must be fully thawed before boiling. Thaw them in the refrigerator overnight, or use cold water if you’re in a hurry. Store chicken in the refrigerator to prevent harmful bacteria from multiplying.
How to Prepare Chicken Breasts for Boiling
Cleaning and trimming the chicken
Remove excess moisture from the chicken by running it under cold water, then thoroughly dry it using paper towels. Trim off any excess fat or gristle for a cleaner presentation and better texture.
Adding seasonings and aromatics for enhanced flavor
Infuse flavor by adding ingredients like garlic, onion, bay leaves, peppercorns, or herbs to the boiling water. This step elevates the taste and creates a versatile base for recipes.
Properly thawing frozen chicken breasts
Ensure your chicken is evenly thawed to avoid uneven cooking. Use a meat thermometer to confirm the internal temperature reaches the safe zone.
Step-by-Step Guide to Boiling Chicken Breasts
Choosing the right pot and amount of water
Select a pot that’s large enough to submerge the chicken breasts completely. Use enough water to cover the chicken by at least an inch.
Adding salt and optional ingredients to the water
Salt enhances the flavor and helps the chicken retain moisture. You can also add vegetable scraps like celery, carrots, or parsley for a richer broth.
Bringing the water to a boil: Key temperature tips
Start with cold water and gradually bring it to a gentle boil over medium-high heat. Keep the liquid at a gentle simmer to ensure the chicken stays tender.
How long to boil chicken breasts: General time guidelines
- Boneless chicken breasts: 10-15 minutes
- Bone-in chicken breasts: 20-30 minutes
Check that the chicken’s center temperature hits 165°F (74°C) by inserting a meat thermometer.
Factors That Can Impact Boiling Time
Chicken breast thickness and size
Thicker or larger chicken breasts require more time to cook thoroughly. Consider cutting them into smaller portions for quicker boiling.
Altitude and its effect on boiling temperatures
At higher altitudes, water boils at a lower temperature, which may increase cooking time. Adjust accordingly if you live in a high-altitude area.
Starting with cold water vs. preheated water
Starting with cold water allows for even heat distribution, while preheated water may cook the outside faster than the inside.
How to Tell When Chicken Breasts Are Fully Cooked
Visual cues: Color and texture
Properly cooked chicken will be white throughout, with no pink in the center. The texture should be firm but not rubbery.
Using a meat thermometer: Safe internal temperature
Insert a meat thermometer into the thickest part of the breast. Once it reads 165°F (74°C), your chicken is ready to eat.
Tips for avoiding undercooked or overcooked chicken
Set a timer and monitor the chicken closely to avoid drying it out. Rest the chicken for a few minutes after boiling to redistribute juices.
What to Do With Boiled Chicken Breasts
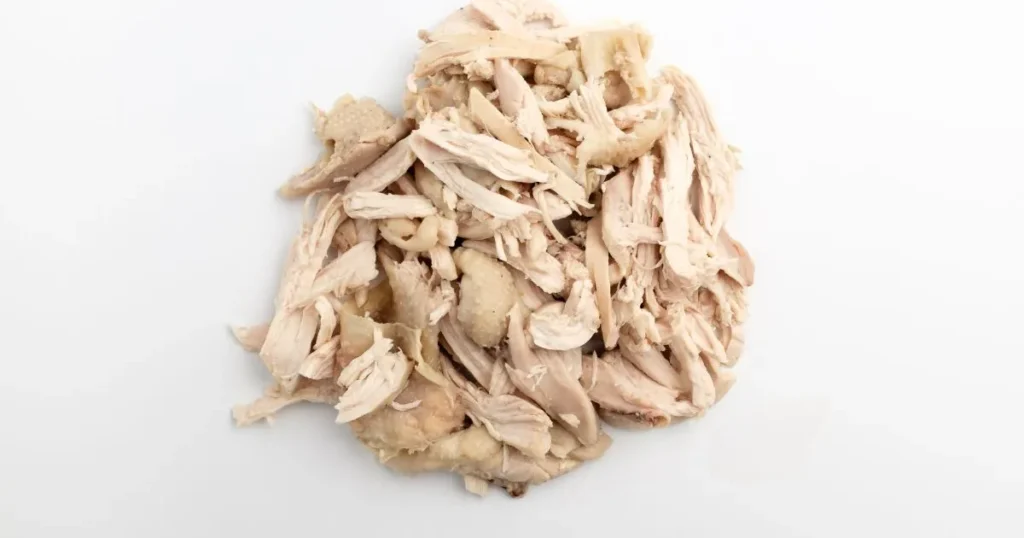
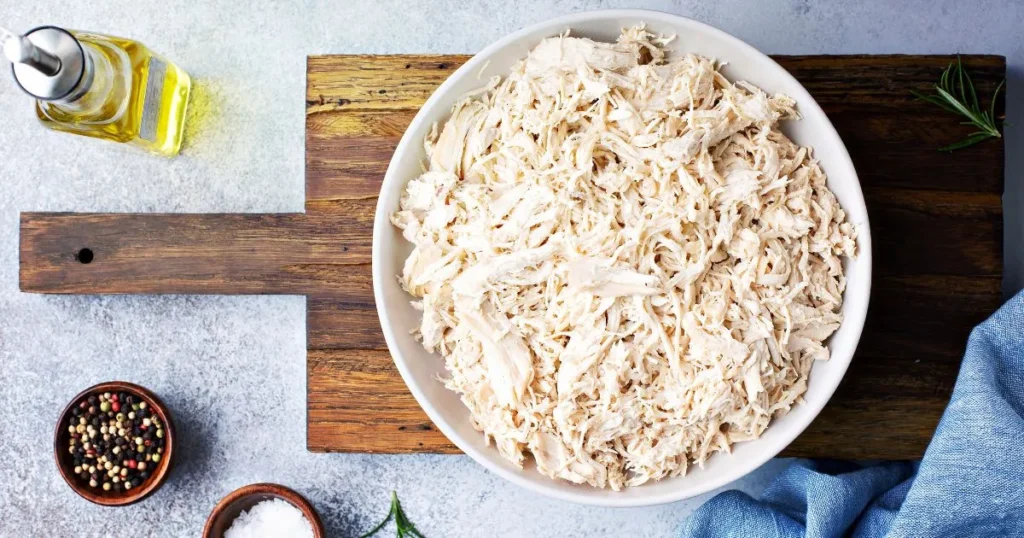
Shredding for recipes like tacos, salads, or soups
Shredded boiled chicken is perfect for tacos, sandwiches, or soups. Two forks easily separate the chicken.
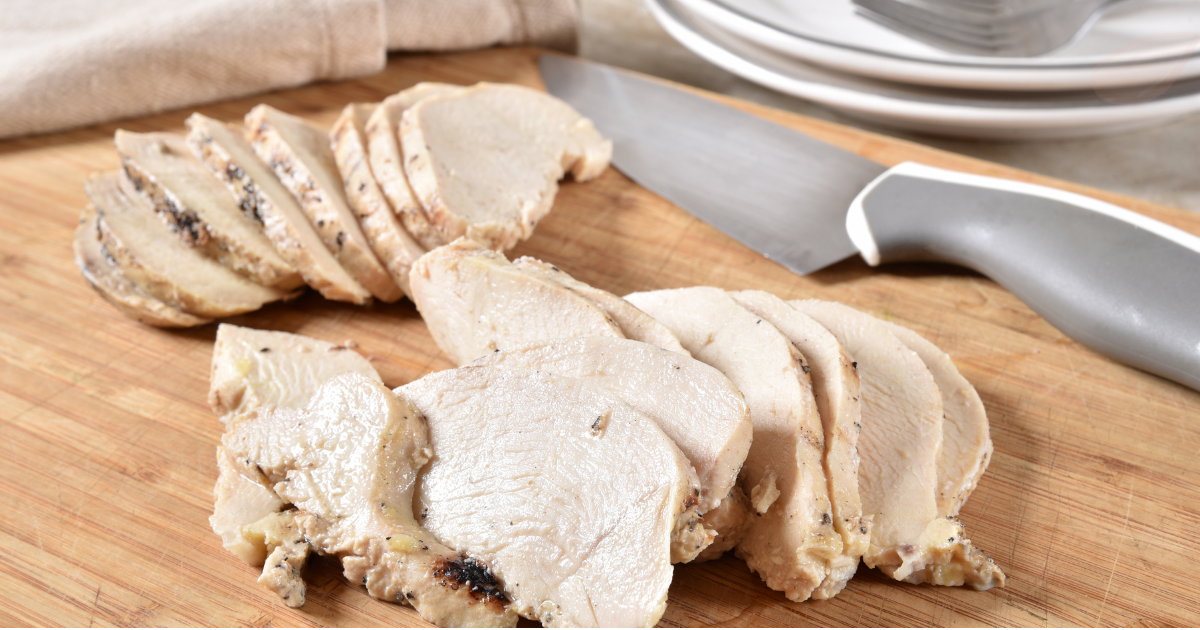
Serving whole: Simple seasoning ideas for a complete meal
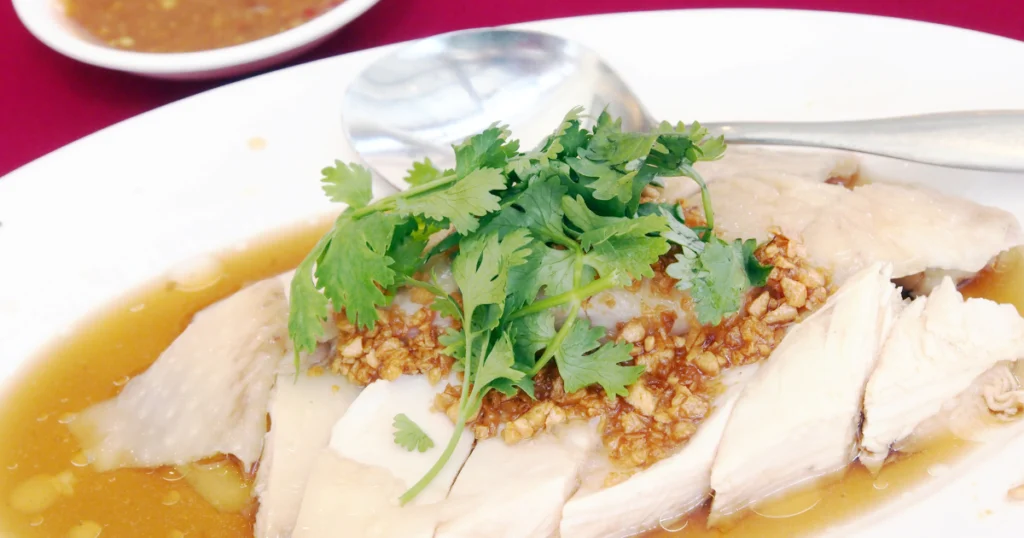
Serve boiled chicken breasts with a drizzle of olive oil, a sprinkle of herbs, or your favorite sauce for a quick and healthy meal.
Storing and reheating boiled chicken properly
Keep leftover chicken in a sealed container – it’ll last 4 days in the fridge or 3 months in the freezer. Reheat gently in the microwave or on the stovetop with a splash of broth to retain moisture.
Common Mistakes to Avoid When Boiling Chicken Breasts
Overcooking and drying out the chicken
Boiling for too long can result in dry, rubbery chicken. Stick to recommended cooking times and use a thermometer for accuracy.
Using too much or too little water
Ensure the chicken is fully submerged to cook evenly. Too little water can lead to inconsistent results.
Skipping the resting period after boiling
Allow the chicken to rest for 5-10 minutes after boiling. Let the meat rest so the flavorful juices can settle throughout.
FAQs About Boiling Chicken Breasts
Can you boil chicken breasts with other ingredients like vegetables?
Yes, boiling chicken with vegetables like carrots, onions, and celery can enhance the flavor and create a delicious broth.
Is boiling chicken the healthiest cooking method?
Boiling is low in fat and retains the chicken’s natural moisture, making it a healthy cooking option.
How to store boiled chicken for meal prep?
Cool the chicken completely before storing in airtight containers. Label and date the containers for easy organization.
Conclusion
Mastering the art of boiling chicken breasts is a game-changer for quick and healthy meals. By following the tips and guidelines outlined here, you’ll achieve perfectly cooked chicken every time. Experiment with flavors, pair with your favorite sides, and enjoy the versatility of boiled chicken in your recipes. Now it’s your turn to bring these techniques to your kitchen and elevate your cooking game!
