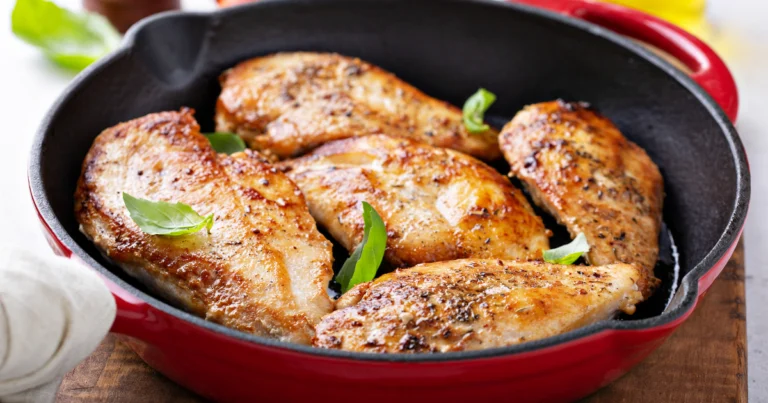
5 Sizzling Secrets to Perfectly Pan-Seared Chicken Pieces
The Kitchen Transformation That Changed Everything(Pan-Seared Chicken)
Picture this: Another disappointing dinner where your chicken turns out dry, bland, and about as appetizing as cardboard. You’ve tried countless recipes, watched endless cooking shows, but somehow, achieving that perfect golden-brown, juicy chicken seems like an impossible dream. I’ve been exactly where you are – frustrated, hungry, and ready to give up on creating restaurant-quality chicken at home.
But what if I told you that mastering the art of pan-searing chicken is not only possible but can be surprisingly simple? Today, I will share the five game-changing secrets that transformed my cooking from mediocre to magnificent, helping you create mouthwatering chicken pieces that will have your family begging for seconds.
Table of Contents
Understanding the Basics: Why Pan-Searing is Your Culinary Superpower
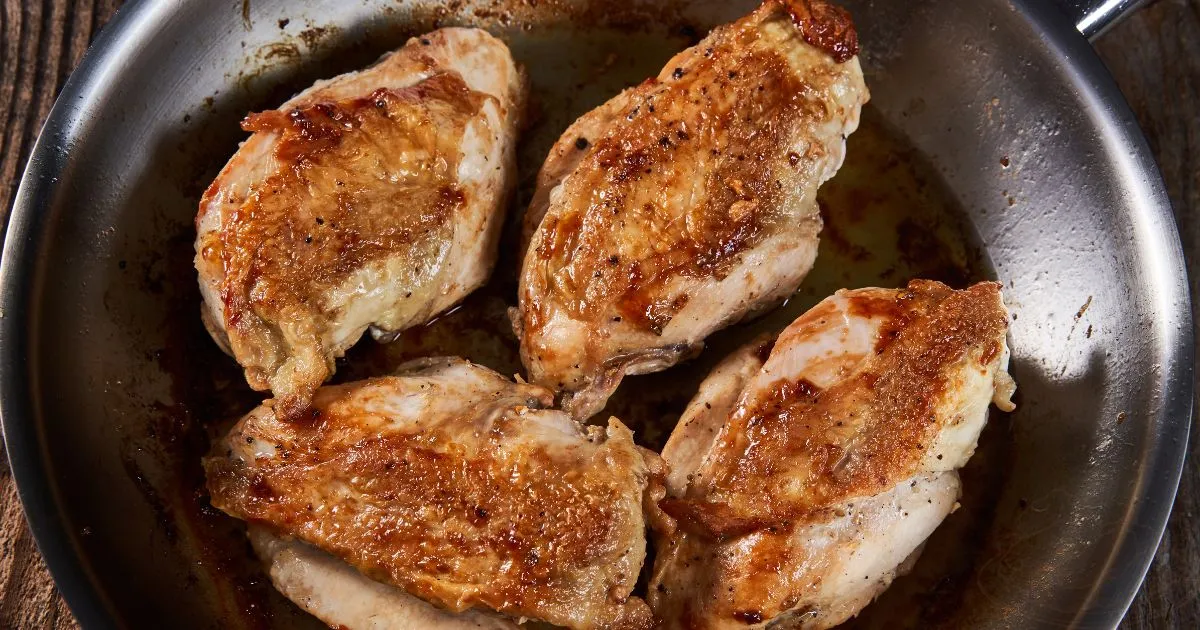
Before we dive into the secrets, let’s understand why pan-searing is the ultimate cooking method for chicken pieces. This technique isn’t just about cooking; it’s about creating a culinary experience that locks in flavor, creates a stunning golden crust, and ensures your chicken remains incredibly juicy.
Why Pan-Searing Reigns Supreme
-Flavor Amplification: The high heat creates a beautiful Maillard reaction, developing rich, complex flavors
– Speed and Efficiency: Typically takes just 12-15 minutes from start to finish
– Versatility: Works perfectly with various chicken cuts – breasts, thighs, drumsticks
Essential Equipment You’ll Need
– Heavy-bottomed skillet (cast iron or stainless steel)
– Meat thermometer
– Tongs
– Paper towels
– High smoke point oil
Secret 1: Preparation is Your Foundation for Success
Choosing and Preparing Your Chicken Pieces
The journey to perfect pan-seared chicken begins long before the pan hits the stove. Your preparation can differentiate between a good meal and an extraordinary culinary experience.Chicken Selection Tips
– Choose fresh, high-quality chicken pieces
– Look for uniform thickness to ensure even cooking
– Opt for boneless, skinless chicken breasts for quickest results
Pre-Cooking Preparation Checklist
1. Remove chicken from refrigerator 30 minutes before cooking
2. Pat chicken completely dry with paper towels
3. Trim any excess fat or uneven edges The Perfect Seasoning Blend
| Ingredient | Quantity | Pro Tips |
|———–|———-|———-|
| Kosher Salt | 1 tsp | Helps create perfect crust |
| Fresh Ground Black Pepper | 1/2 tsp | Adds depth of flavor |
| Olive Oil | 2 tbsp | For perfect searing |
| Optional Herbs | 1 tbsp | Rosemary, thyme, or parsley |
Secret 2: Mastering Pan Temperature – The Heat is On!
Temperature control is where most home cooks stumble. The right heat transforms your chicken from ordinary to extraordinary.
The Goldilocks Zone of Pan Temperature
– Ideal Temperature Range: 375-400°F
– How to Test: Flick a drop of water on the pan
– Perfect Indicator: Water should sizzle and dance immediately
Common Temperature Mistakes to Avoid
– Too Low: Chicken steams instead of sears
– Too High: Exterior burns before interior cooks
– Inconsistent Heat: Leads to uneven cooking
Secret 3: Seasoning Techniques That Elevate Your Chicken
Seasoning is an art form that can turn simple chicken into a gourmet experience. Your goal is to create layers of flavor that complement the chicken’s natural taste.
Seasoning Strategies
-Dry Rub Technique: Apply seasonings 15-30 minutes before cooking
-Wet Marinade: Infuse flavor for 2-4 hours in refrigerator
– Salt Brining: Ensures moisture retention
Flavor Combination Ideas
1. Classic Herb Blend
– Dried thyme
– Rosemary
– Garlic powder
– Salt and pepper
2. Spicy Cajun Mix
– Paprika
– Cayenne pepper
– Onion powder
– Dried oregano
3. Lemon-Herb Variation
– Lemon zest
– Fresh parsley
– Garlic
– Cracked black pepper
Secret 4: The Ultimate Searing Technique
Now comes the most critical moment – actually cooking your chicken to perfection.
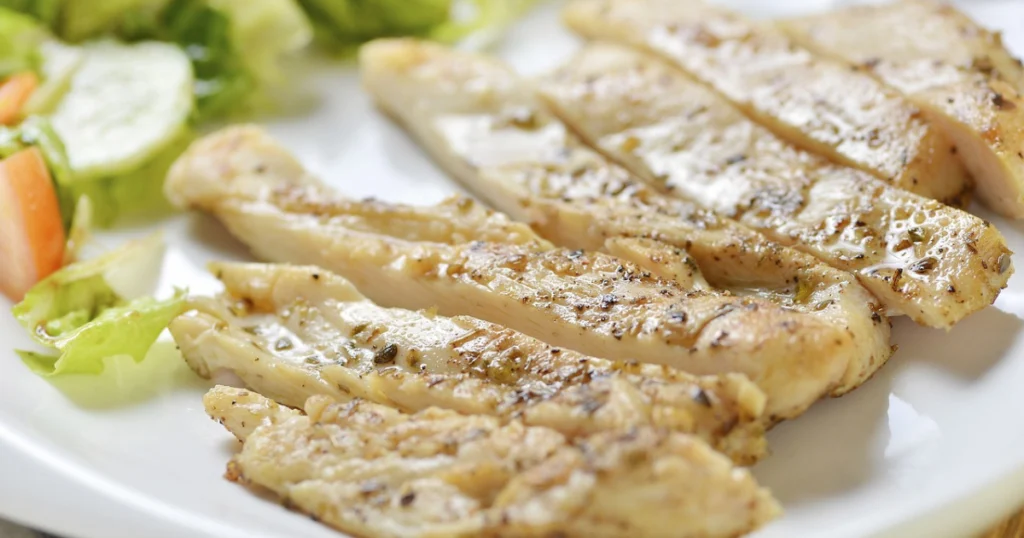
Step-by-Step Searing Method
1. Heat pan on medium-high
2. Add oil, ensuring even coating
3. Place chicken carefully, avoiding overcrowding
4. Cook without moving for 5-6 minutes
5. Flip only once
6. Cook opposite side for 4-5 minutes
7. Check internal temperature
Timing Guide
-Chicken Breasts (6 oz): 6-7 minutes per side
-Chicken Thighs: 7-8 minutes per side
– Always Aim for 165°F Internal Temperature
Secret 5: The Critical Resting Period
Many cooks overlook this crucial step, but resting your chicken is non-negotiable for maintaining moisture.
Why Resting Matters
– Allows juices to redistribute
– Prevents dry, tough meat
– Ensures even temperature throughout
Resting Techniques
The Ultimate Guide to Resting Chicken: Unlocking Juicier, More Flavorful Meat
Why Resting Matters: The Science Behind the Pause
When you cook chicken, the heat causes the muscle fibers to contract and push moisture towards the center of the meat. Resting allows these fibers to relax and reabsorb the juices, ensuring every bite is succulent and tender.
Key Benefits of Resting Chicken
– Redistributes internal juices
– Prevents dry, tough meat
– Allows for more even temperature distribution
– Enhances overall flavor and texture
Resting Techniques for Different Chicken Cuts
Chicken Breasts
– Resting Time 5-10 minutes
– Technique
– Remove from pan or oven
– Cover with foil
– Let sit on a warm plate
– Avoid cutting immediately . Chicken Thighs
– Resting Time: 8-12 minutes
– Technique:
– Remove from heat source
– Tent with foil
– Allow to rest on a warm surface
– Preserve crispy skin by not covering too tightly
Resting Methods Explained
Tenting Technique
– Use aluminum foil to create a loose cover
– Allows steam to escape
– Prevents moisture loss
– Keeps chicken warm without continuing to cook
Surface Selection
– Use a wooden cutting board
– Choose a warm plate
– Avoid cold surfaces that rapidly cool the meat
Common Resting Mistakes to Avoid
1. Cutting too soon
2. Covering too tightly
3. Resting on a cold surface
4. Leaving uncovered for too long
5. Resting in a drafty area
Resting Times by Cooking Method
| Cooking Method | Chicken Type | Recommended Resting Time |
|—————|————–|————————–|
| Pan-Seared | Breasts | 5-7 minutes |
| Roasted | Whole Chicken| 15-20 minutes |
| Grilled | Thighs | 8-12 minutes |
| Baked | Drumsticks | 5-10 minutes
Pro Tips for Perfect Resting
– Always use clean utensils
– Keep the chicken in a warm, draft-free area
– Loosely tent with foil
– Avoid cutting or piercing the meat
– Use the resting time to prepare side dishes
How Long Should I Rest Chicken?
– Typically 5-20 minutes
– Depends on the cut and cooking method
– Larger cuts require longer resting times
Can I Rest Chicken Too Long?
– Avoid resting more than 30 minutes
– Chicken will cool and lose optimal texture
– Keep it warm but not hot for too long
Does Resting Affect Food Safety?
– Always ensure chicken reaches 165°F internally
– Rest in a warm area
– Avoid leaving at room temperature for extended periods
Final Thoughts
Mastering the art of resting chicken is a game-changer in your culinary journey. It transforms good chicken into exceptional, mouth-watering meals that will impress family and friends.
Troubleshooting Common Challenges
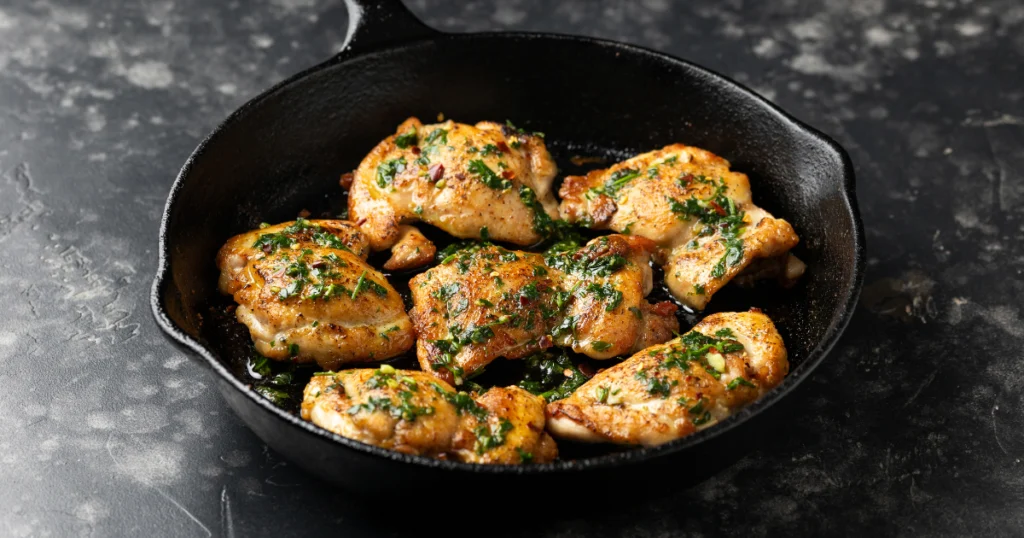
Solving Typical Pan-Searing Issues
– Dry Chicken: Reduce cooking time, use meat thermometer
-Uneven Cooking: Pound chicken to uniform thickness
– Lackluster Crust: Ensure completely dry chicken, hot pan
Your Culinary Transformation Begins Now
You’ve just unlocked the secrets to creating restaurant-quality pan-seared chicken. Remember, cooking is a journey of continuous learning and practice.
conclusion
Ready to elevate your cooking game? Start by implementing these five secrets in your next meal. Share your pan-searing triumphs in the comments below, and don’t forget to save this guide for future reference!
Frequently Asked Questions
1. How long should chicken pieces cook in a pan?
– Approximately 6-8 minutes per side
– Always verify 165°F internal temperature
2. Can I pan-sear frozen chicken?
– No, always thaw completely
– Pat dry thoroughly before cooking
3.What’s the best oil for pan-searing?
– Olive oil
– Avocado oil
– Canola oil with high smoke point
4. How do I prevent dry chicken?
– Don’t overcook
– Use meat thermometer
– Allow proper resting time
5. Can beginners master pan-searing?
– Absolutely! Practice makes perfect
– Follow these five secrets
– Be patient with yourself
Cooking times may vary based on chicken piece size and individual stove characteristics. Always prioritize food safety and use a meat thermometer.

