Brining Chicken Breast 4 Amazing Secrets/Expert Guide
introduction: Brining Chicken Breast
Standing in your kitchen, staring at another plate of disappointingly dry chicken breast? You’re not alone. Nothing deflates dinner enthusiasm quite like biting into a piece of chicken that’s more reminiscent of sawdust than succulent protein. Yet, tucked away in professional kitchens worldwide lies a transformative secret that guarantees perfectly juicy chicken every single time: brining. This age-old technique isn’t just for Thanksgiving turkeys – it’s your ticket to revolutionizing weeknight dinners, starting with those challenging chicken breasts.
Table of Contents
Understanding the Magic of Brining
Before diving into the how-to, let’s unravel what makes brining such a game-changer for your chicken. Think of brining as a spa treatment for your poultry. When you immerse chicken in a saltwater solution, something remarkable happens at the molecular level. The salt doesn’t just season the meat; it fundamentally changes its structure, helping the protein fibers retain more moisture during cooking.
Your chicken breast is made up of muscle fibers that naturally contract when exposed to heat, squeezing out precious moisture. The salt in your brine helps these proteins relax and actually absorb liquid, resulting in meat that’s both properly seasoned and significantly juicier. Even better? This process creates a sort of moisture insurance policy, making it harder to overcook your chicken.
Essential Brining Equipment
Before embarking on your brining journey, gather these kitchen essentials:
Must-Have Tools:
- Large non-reactive container (glass or food-grade plastic)
- Measuring cups and spoons
- Kitchen scale (optional but helpful)
- Thermometer for monitoring brine temperature
- Whisk for dissolving salt
Optional but Helpful:
- Large zip-top bags (perfect for small batches)
- Brining bags (specially designed for larger cuts)
- Weight or plate (to keep chicken submerged)
Basic Chicken Brine Recipe
Let’s start with a foolproof basic brine that you can later customize to your taste:
| Base Ingredients | Amount | Notes |
|---|---|---|
| Water | 4 cups | Cold or room temperature |
| Kosher salt | ¼ cup | Don’t substitute table salt |
| Sugar | 2 tablespoons | Helps with browning |
| Garlic cloves | 3, crushed | Adds depth |
| Black peppercorns | 1 tablespoon | Whole, not ground |
| Bay leaves | 2 | Fresh or dried |
Flavor Variations to Excite Your Palate
Transform your basic brine into something extraordinary with these inspired combinations:
| Brine Type | Additional Ingredients | Perfect Pairing |
|---|---|---|
| Mediterranean | Lemon zest, oregano, olive oil | Grilled vegetables |
| Asian-inspired | Soy sauce, ginger, honey | Stir-fried rice |
| Herbaceous | Rosemary, thyme, sage | Roasted potatoes |
| Citrus Burst | Orange peel, lime juice, cilantro | Mango salsa |
Step-by-Step Brining Process
1. Preparation
Before diving into the brining process, proper preparation ensures food safety and optimal results:
- Clean your workspace thoroughly
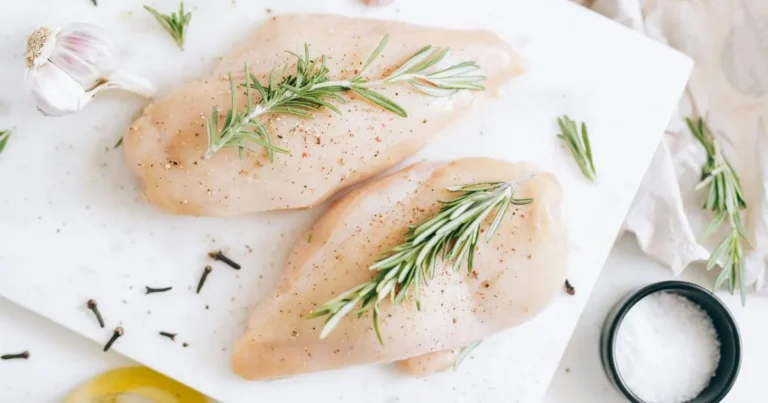
- Trim excess fat from chicken breasts
- Remove any bone fragments if present
- Rinse chicken under cold water
- Pat dry with paper towels
2. Making the Brine Solution
- Combine water and salt in your container
- Whisk until salt dissolves completely
- Add remaining ingredients
- Stir to combine
- Chill brine to 40°F (4°C) before using
3. The Brining Process
Timing is crucial when brining chicken breasts. Follow these guidelines for perfect results:
- Small chicken breasts (4-6 oz): 30 minutes to 1 hour
- Medium chicken breasts (6-8 oz): 1-2 hours
- Large chicken breasts (8+ oz): 2-4 hours
Remember: Brining longer isn’t better. Over-brining can result in mushy texture.
4. Post-Brine Steps
Once your brining time is complete:
- Remove chicken from brine
- Rinse thoroughly under cold water
- Pat completely dry with paper towels
- Let rest at room temperature for 20-30 minutes before cooking
Tips for Perfect Results
Success lies in the details. Here are professional tips to elevate your brining game:
- Always use cold water to prevent bacterial growth
- Calculate brine time based on thickness rather than weight
- Keep chicken fully submerged throughout the process
- Never reuse brine solution
- Store brining chicken in refrigerator (40°F/4°C or below)
Cooking Your Brined Chicken
Your brined chicken deserves proper cooking techniques to showcase its enhanced moisture and flavor:

Recommended Cooking Methods:
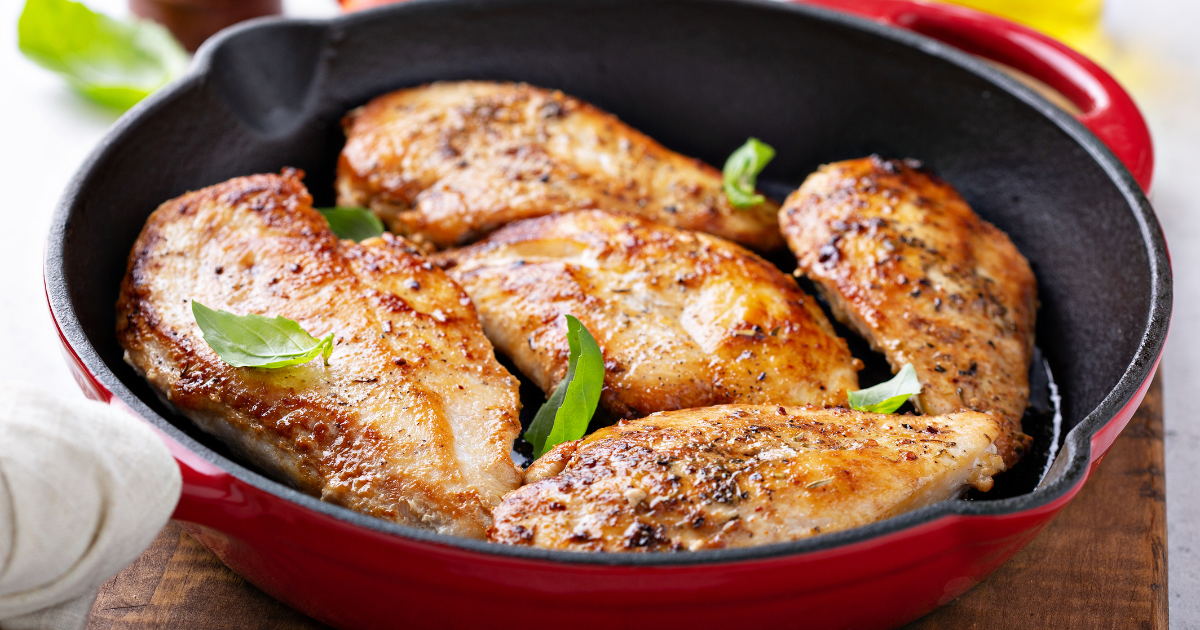
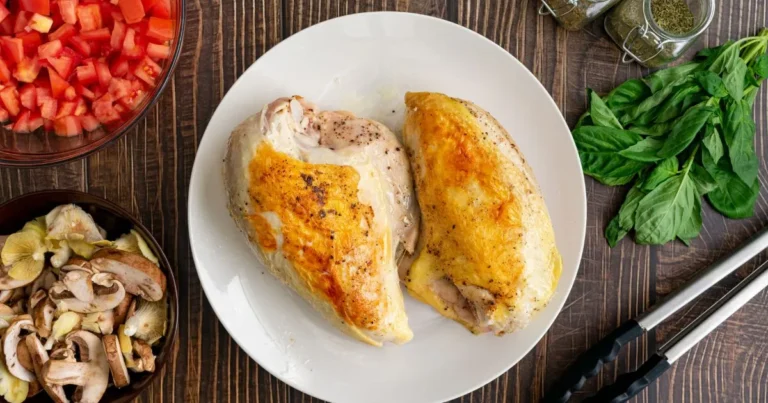
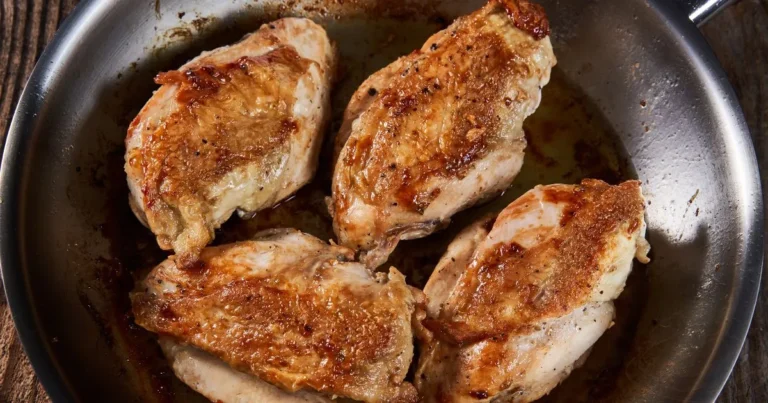
- Pan-Searing
- Heat pan over medium-high heat
- Add small amount of oil
- Cook 5-7 minutes per side
- Internal temperature: 165°F (74°C)
- Grilling
- Preheat grill to medium-high
- Oil grates well
- Cook 6-8 minutes per side
- Let rest 5 minutes before cutting
- Baking
- Preheat oven to 375°F (190°C)
- Line baking sheet with parchment
- Bake 22-26 minutes
- Rest 5-10 minutes before serving
Frequently Asked Questions
How long should I brine chicken breast?
The ideal brining time depends on the size of your chicken breasts. Small pieces need only 30 minutes, while larger cuts benefit from 2-4 hours. Never exceed 4 hours, as this can lead to overly salty and mushy meat.
Can I reuse chicken brine?
Absolutely not. Brine solution becomes contaminated with bacteria after first use. Always discard used brine and make fresh solution for each batch of chicken.
Does brining make chicken too salty?
When done correctly, brining enhances flavor without overwhelming saltiness. Follow the recommended ratios and timing guidelines to achieve perfectly seasoned results.
Can I brine frozen chicken breast?
Always thaw chicken completely before brining. Frozen chicken won’t absorb the brine properly, and partial thawing in brine creates food safety concerns.
What if I don’t have kosher salt?
While kosher salt is ideal, you can use sea salt as a substitute. Avoid table salt, as its smaller granules and additives will affect the brine’s concentration.
Conclusion
Transforming your chicken breast from mundane to magnificent doesn’t require culinary school training – just this simple brining technique. By understanding the science behind brining and following these detailed steps, you’re well-equipped to prepare consistently juicy, flavorful chicken that will have family and friends wondering about your secret.
Remember, practice makes perfect. Don’t be afraid to experiment with different flavor combinations once you’ve mastered the basic brine. Your journey to perfectly cooked chicken breast starts here, and the results will speak for themselves.
Final Pro Tips:
- Always start with quality chicken
- Keep your brine cold throughout the process
- Don’t skip the drying step before cooking
- Use a meat thermometer for perfect doneness
- Let chicken rest after cooking
Ready to elevate your chicken game? Start with a small batch, following these guidelines exactly. Once you taste the difference, you’ll never want to cook chicken breast without brining again. Share your brining success stories in the comments below, and don’t forget to bookmark this guide for future reference.
Did you try chicken recipes ?
There are no reviews yet. Be the first one to write one.

