Master the Art of Roasted Split Chicken Breast in 5 Steps

Introduction
Why Roasted Split Chicken Breast is a Must-Try Dish
Roasted split chicken breast is a culinary gem that combines simplicity with exceptional flavor. Known for its juicy meat, crispy skin, and ability to absorb seasonings beautifully, this dish is a favorite among home cooks and professional chefs alike. Whether you’re preparing a family dinner, hosting guests, or meal prepping for the week, roasted split chicken breast offers a versatile and satisfying option that never disappoints.
Benefits of Cooking with Split Chicken Breasts
Split chicken breasts, which include the bone and skin, offer several advantages over their boneless counterparts. The bone helps retain moisture during cooking, ensuring tender and juicy meat, while the skin crisps up perfectly, adding a delightful texture. Additionally, split chicken breasts are often more affordable, making them a budget-friendly choice without compromising on flavor. Their rich taste and adaptability to various seasonings and sides make them an essential ingredient for any kitchen.
Table of Contents
Understanding Split Chicken Breasts
What Are Split Chicken Breasts?
Split chicken breasts are chicken breast portions that include both the bone and the skin. The term “split” refers to the fact that a whole chicken breast (which consists of two halves) is divided into two separate pieces. The presence of the bone and skin not only enhances the flavor but also contributes to a juicier and more tender texture during cooking.
How They Differ from Boneless Breasts
Unlike boneless, skinless chicken breasts, split chicken breasts retain the natural structure provided by the bone and the richness offered by the skin. Boneless breasts cook faster but are more prone to drying out, especially during roasting. Split chicken breasts, on the other hand, benefit from the bone’s insulation and the skin’s ability to lock in moisture and flavor, resulting in a more flavorful and satisfying dish.Why Choose Split Chicken Breasts for Roasting
Split chicken breasts are ideal for roasting because the combination of the bone and skin creates a perfect balance of texture and taste. The bone helps the chicken cook evenly and prevents overcooking, while the skin turns golden and crispy under high heat, enhancing the dish’s overall appeal. Additionally, their larger size makes them perfect for roasting as they hold up well to longer cooking times, allowing you to infuse them with a wide range of herbs, spices, and marinades
Choosing the Right Ingredients
Selecting the Perfect Split Chicken Breasts
When selecting split chicken breasts, keep the following tips in mind:
- Freshness: Look for chicken that is firm to the touch and has a clean, light pink color.
- Skin Quality: The skin should appear smooth and free from blemishes or tears.
- Smell: Avoid chicken with a strong, unpleasant odor.
- Packaging: Steer clear of packages with excessive liquid, as this may indicate poor quality or spoilage.
- Type: Choose organic or free-range chicken whenever possible for superior flavor and texture.
| Criteria | What to Look For | What to Avoid |
|---|---|---|
| Freshness | Firm, light pink chicken | Soft, discolored chicken |
| Skin Quality | Smooth, unblemished skin | Torn or damaged skin |
| Smell | Neutral or mild odor | Strong, unpleasant smell |
| Packaging | Minimal liquid in packaging | Excessive liquid or leakage |
| Type | Organic or free-range options | Factory-farmed chicken |
Essential Herbs, Spices, and Seasonings for Maximum Flavor
Roasted split chicken breasts are a blank canvas for a variety of seasonings. Here’s a breakdown of options:
- Basic Seasonings:
- Salt
- Black Pepper
- Fresh Herbs:
- Rosemary
- Thyme
- Parsley
- Spices for Depth:
- Garlic Powder
- Paprika (regular or smoked)
- Onion Powder
- For a Kick:
- Cayenne Pepper
- Smoked Paprika
- Complex Flavor Additions:
- Lemon Zest
- Honey
- Dijon Mustard
- Soy Sauce
Picking the Right Oil or Butter for Roasting
| Fat Type | Benefits | Tips for Use |
|---|---|---|
| Olive Oil | Rich flavor, helps skin crisp nicely | Brush evenly over chicken before roasting |
| Butter | Deep, indulgent taste | Use melted butter for extra richness |
| Avocado Oil | Neutral flavor, high smoke point | Great for high-temperature roasting |
| Grapeseed Oil | Neutral flavor, high smoke point | Ensures even browning without overpowering flavor |
- Pro Tip: Combine butter and olive oil for a perfect balance of flavor and crispiness. Coat the chicken evenly to lock in moisture and enhance browning.
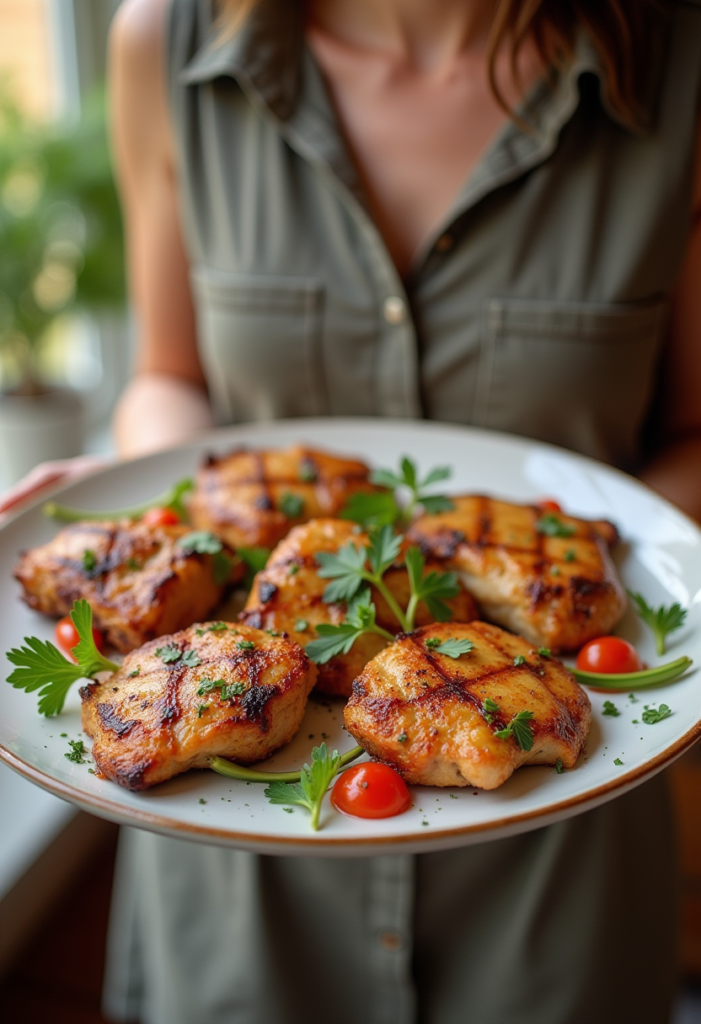
Preparing Your Split Chicken Breasts
Properly Cleaning and Drying the Chicken
- Rinse Carefully: Gently rinse the split chicken breasts under cold water to remove any excess residue. Avoid soaking the chicken, as it can affect the texture.
- Dry Thoroughly: Use paper towels to pat the chicken dry on all sides. Removing moisture ensures the skin roasts to a golden, crispy finish.
- Work Clean: Clean and sanitize all surfaces, utensils, and your hands after handling raw chicken to prevent cross-contamination.
Trimming Excess Fat Without Losing Flavor
- Inspect the Chicken: Look for visible pockets of excess fat or skin around the edges.
- Use Sharp Tools: Use kitchen shears or a sharp knife for precise trimming. Avoid removing too much, as a little fat enhances flavor and moisture.
- Focus on Balance: Leave enough skin intact to protect the meat during roasting and to contribute to a crispy texture.
Tips for Marinating or Dry Brining
- Marinating for Flavor:
- Use a blend of acidic ingredients like lemon juice, yogurt, or vinegar to tenderize the meat.
- Add olive oil, herbs, and spices to build flavor.
- Marinate for at least 30 minutes, but for best results, refrigerate for 4–6 hours.
- Dry Brining for Crispy Skin:
- Rub the chicken with a generous amount of kosher salt, ensuring even coverage.
- Add optional spices like garlic powder, paprika, or thyme for extra seasoning.
- Place the chicken uncovered on a rack in the fridge for 12–24 hours. This method draws out moisture, allowing the skin to crisp beautifully during roasting.
- Pro Tip: Whichever method you choose, bring the chicken to room temperature for 20–30 minutes before roasting for even cooking.
Mastering the Roasting Technique
The Ideal Oven Temperature and Cooking Time
Preheat your oven to 400°F (200°C) for optimal heat that will crisp the skin while cooking the meat evenly. The roasting time will vary depending on the size of the chicken breasts:
| Chicken Breast Size | Roasting Time |
|---|---|
| Small (5–6 oz) | 35–40 minutes |
| Medium (7–8 oz) | 40–45 minutes |
| Large (9 oz or more) | Up to 50 minutes |
The Perfect Guide to Using a Meat Thermometer Correctly
To ensure the chicken is cooked to perfection, follow these steps:
- Place the temperature probe deep into the meatiest section, making sure to stay away from any bones..
- Target Temperature: Aim for an internal temperature of 165°F (74°C) to ensure the chicken is cooked through yet remains juicy.
- Check Multiple Spots: For accuracy, check the temperature in several parts of the meat.
Positioning the Chicken for Even Cooking
Achieving even cooking requires proper placement in the oven:
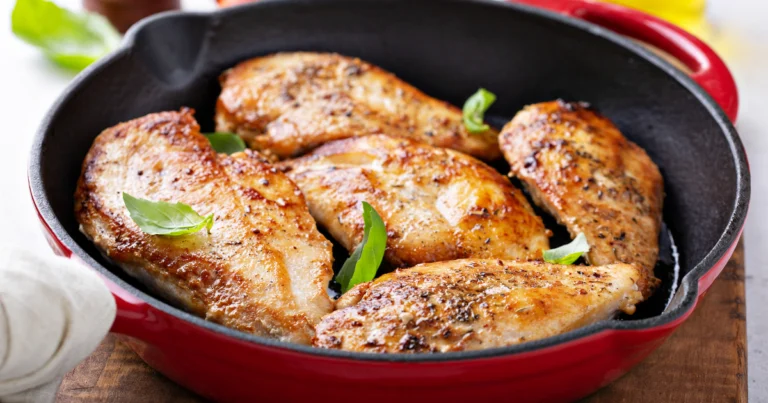
- Skin-Side Up: Arrange the chicken breasts with the skin facing up to allow for even crisping.
- Use a Wire Rack: Place the chicken on a wire rack in the roasting pan to allow hot air to circulate around the chicken for uniform cooking.
- Arrange the pieces with room in between to ensure they brown uniformly on all sides. and crisping.
Achieving Crispy Skin Without Overcooking
For perfect crispy skin, follow these tips:
- Dry the Skin: Pat the skin completely dry with paper towels before seasoning.
- Apply Oil or Butter: Brush the chicken with olive oil or melted butter to help achieve that golden, crispy skin.
- Finish with Broiling: If the skin isn’t crispy enough after roasting, finish with a 2–3-minute broil. Watch closely to avoid burning the skin.
Serving Suggestions and Pairings
Side Dishes That Elevate Your Roasted Chicken
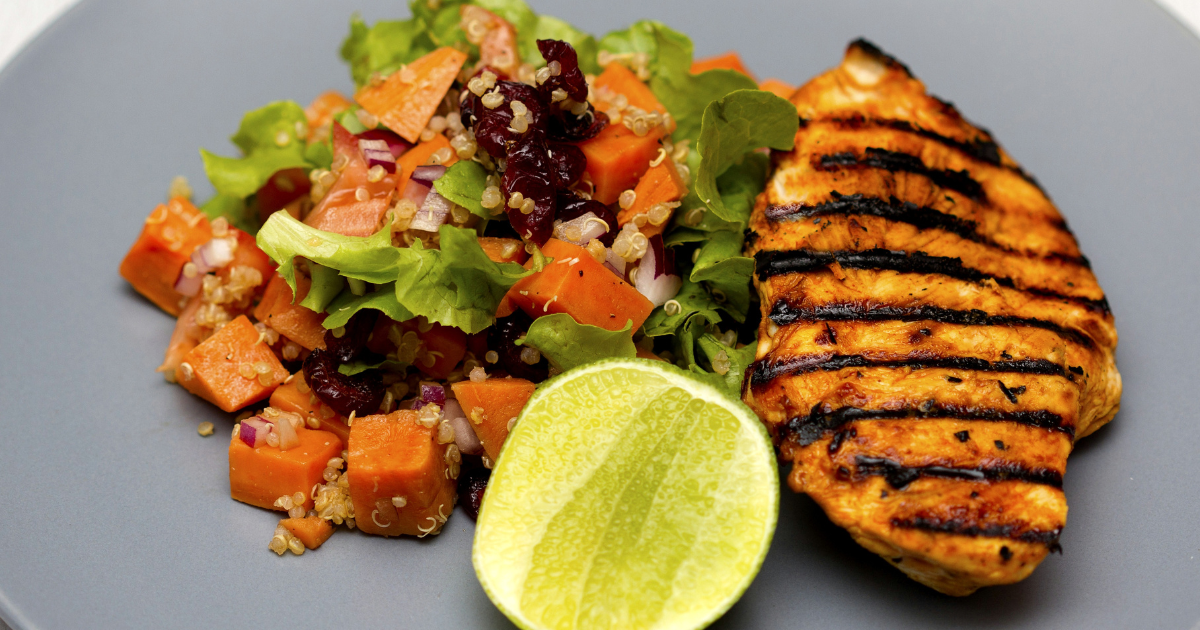
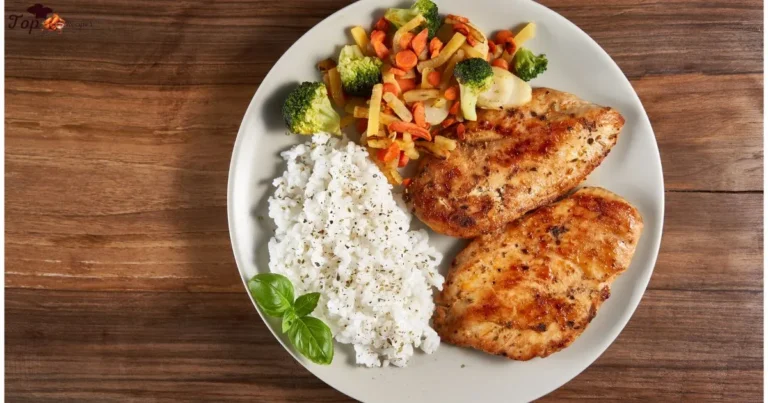
- Vegetables: Roasted Brussels sprouts, carrots, or sweet potatoes.
- Grains: Quinoa, wild rice, or buttery mashed potatoes.
- Salads: A fresh green salad with a tangy vinaigrette or a classic Caesar salad.
Sauces and Toppings to Add a Gourmet Touch
- Lemon-garlic butter sauce.
- Creamy mushroom gravy.
- Herb pesto or chimichurri for a fresh, vibrant flavor.
Plating Tips for an Impressive Presentation
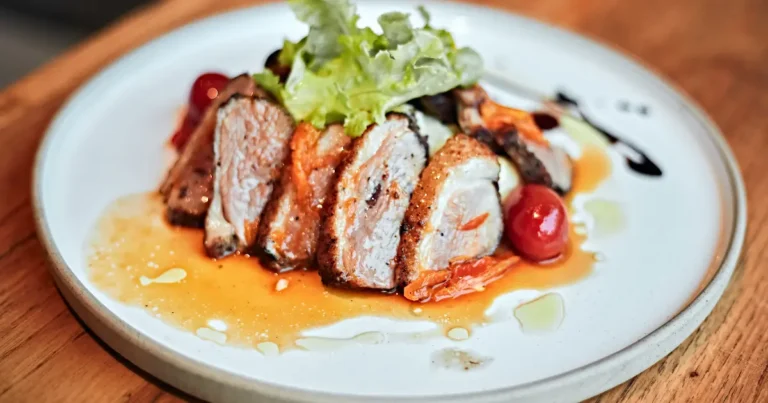
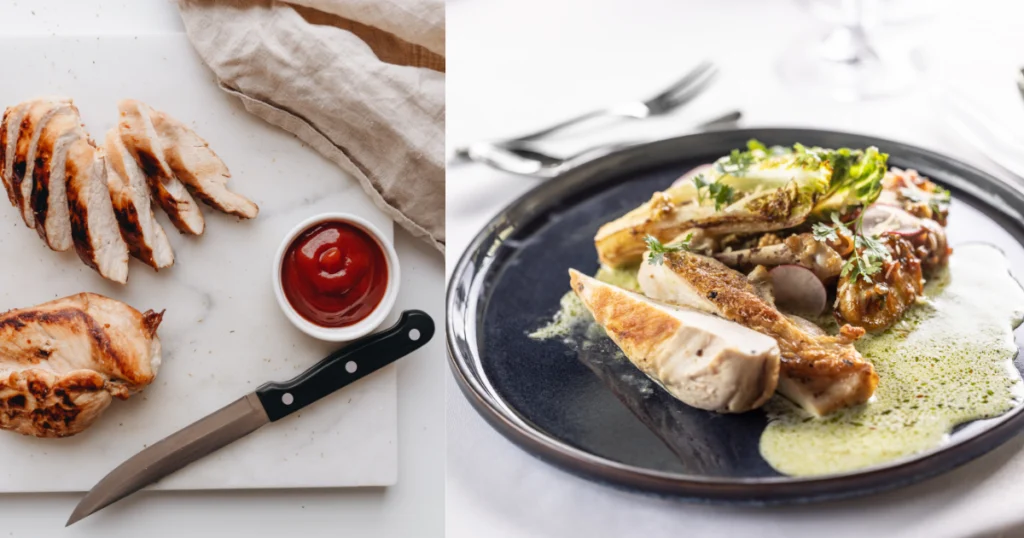
- Slice the chicken diagonally for a professional look.
- Serve on a large plate with colorful sides arranged neatly.
- Add fresh herbs such as parsley or thyme as a final garnish.
Common Mistakes to Avoid
Overcooking or Undercooking the Chicken
- Use a meat thermometer every time to check if your chicken is fully cooked.
- Avoid cutting into the chicken to check; this releases valuable juices.
Using the Wrong Temperature Settings
- Roasting at too low a temperature may dry out the chicken.
- A temperature above 400°F can cause uneven cooking and burning.
Skipping Rest Time After Roasting
- After taking the chicken out of the oven, allow it to rest 5-10 minutes before cutting.
- Resting allows the juices to redistribute, ensuring moist and tender meat.
Conclusion
Recap of the 5 Essential Steps
- Choose high-quality ingredients.
- Properly prepare and season the chicken.
- Master the roasting technique with the right temperature and tools.
- Serve with complementary sides and sauces.
- Avoid common pitfalls to achieve perfection every time.
Encouragement to Experiment with Flavors
Roasted split chicken breasts are versatile and adaptable to endless flavor combinations. Try experimenting with spices, marinades, and accompaniments to make the dish uniquely yours.
Call-to-Action: Try This Recipe and Share Your Experience
Bring this simple yet delicious recipe into your kitchen today. Share your results and variations with friends and family, and inspire others to enjoy the art of perfectly roasted split chicken breasts!
Frequently Asked Questions (FAQs)
1. How long should I roast split chicken breasts?
Roast split chicken breasts at 400°F (200°C) for 35–45 minutes. Cooking time may vary depending on the size of the chicken breasts, so always check for an internal temperature of 165°F (74°C) to ensure they are fully cooked.
2. Can I roast split chicken breasts without skin?
While the skin helps lock in moisture and create a crispy texture, you can roast split chicken breasts without skin. Just be aware that the chicken might not be as juicy, and the texture may differ slightly.
3. How can I make sure the skin crisps up?
To achieve crispy skin, make sure the chicken is thoroughly dried before roasting. Use a brush to apply oil or melted butter, and consider finishing with a quick broil at the end of the roasting process for an extra crispy touch.
4. Can I use a marinade instead of dry brining?
Yes, marinating the chicken is an excellent alternative to dry brining. A marinade will help infuse the chicken with flavor, but make sure to marinate for at least 30 minutes or overnight for the best results.
5. Should I cover the chicken while roasting?
For the crispiest skin, roast your chicken without covering it. Covering the chicken will trap moisture, preventing the skin from becoming golden and crispy.
6. How do I know when the chicken is done?
The most reliable method to ensure chicken is fully cooked is to check its internal temperature with a meat thermometer – it should read 165°F (74°C). Without a thermometer, cut into the thickest part – when the juices run clear rather than pink, the chicken is probably done.
7. Can I use other cuts of chicken for this recipe?
While split chicken breasts are ideal for roasting, you can use other cuts like thighs or drumsticks. Adjust the cooking time based on the size and thickness of the cut to ensure they reach the proper internal temperature.
8. What are some good side dishes to serve with roasted split chicken breasts?
Side dishes like roasted vegetables, mashed potatoes, quinoa, or a fresh green salad pair wonderfully with roasted chicken. You can also serve it with a light sauce, like lemon-garlic butter or pesto, to add extra flavor.
Did you try chicken recipes ?
There are no reviews yet. Be the first one to write one.

